Adsense


Showing posts with label Sticker Maker. Show all posts

Monday, 16 June 2014

Kids, They're Sending Me Insane!!!

Remember how I mentioned Madeleine broke my iPad? Still grieving, but since the broken iPad has a spunky new case I thought the phone should get one too.

Thursday, 6 March 2014

No Glue Washer Pendants - 10 Minutes And You're Done!!

No Glue Washer Pendants, yes please!


So after I made the tiles and thought I was such genius in the world I had the scraps. I hate wasting the leftovers and as I was packing them away I spotted the washers and thought hmm and so I made 8 washer pendants in around 20 minutes. So actaully 10 minutes per pendant is a lie it's much quicker than that.

Here are my scraps from yesterday (go here if you need to know how I made these)


Cut to size


Stick it on and trim the excess with an exacto knife.

Use up all the scraps.


DIY Delight or Disaster? Well aside from how quick they were to make you can't tell the difference between them and the ones using modpodge and dimensional magic. Absolutely a delight!

Monday, 3 March 2014

No Glue Tile Coasters, 10 Minutes No Drying Time!

That's right NO GLUE tile coasters, feeling like a bit of a genius right now..a lazy one but a genius nonetheless!

Anyway so after my whine fest last week I took a dose of concrete and harden the hell up and told myself just to go and try something. I love all those tile coasters all over pinterest but I read you have to wait a month for them to cure before you can use them...A MONTH!! Seriously who's got time for that? Not me so I have made some that are ready as soon as you're finished and they only take 10 minutes to make, here's how.

Supplies:

Run your paper through the sticker maker.


It's laminated on one side and permanent adhesive on the other side.


Stick on the tile and trim the edges.


Save the left over for another fun idea tomorrow.

10 minutes later cool new tiles that can be used right away, they can also be wiped clean immediately too.


DIY Delight or Disaster? This was just what I needed to get my mojo happening bright and funky but quick and easy. There is practically no room for error, Elizabeth who is 12 can make these with no supervision.

Thanks for reading,

Mel xo

Thursday, 6 February 2014

One Dollar DIY iPod Skin

Hey guys,

I've done the iphone cover, the iphone wallet and the ipad covers here and here and today here is the iPod case, this should tell you that I have too many apple product (although if they want to toss me a couple freebies, I'll be gracious in my acceptance)!


Wednesday, 11 December 2013

Name Bracelet

Is it vain that I have a stack of stuff with my name on it? Well here is one more which I am totally loving right now. I think they would make a beautiful gift for the upcoming holiday season.

Tuesday, 3 December 2013

Magnetic Paper Dolls

When I was a kid I remember being babysat by a friend of my parents and she was kind of old fashioned, in preparation of us coming she had got some paper dolls for me and my sister to play with. I LOVED them it was the only time I had ever seen them and the only time I ever played with them.

Fast forward 30 odd years and I saw these pretty Christmas paper dolls on Pinterest, you can check out my board here and I wanted to make some for Madeleine

Monday, 23 September 2013

A Yarn Keeper

What every knitter or crocheter needs!


I think it's probably obvious by now that I love to knit, however knitting with toddlers is pure hell. Max loves the yarn and throws it about like a cat. It tangles up at best, at worst he gets the yarn all sticky, so I was going to buy one of these yarn holder keeper things, I saw them priced at $20 and I thought, no I think I can probably make something.

Supplies:
Large Empty Tin (I used a formula can)
Fabric
Trim
Eyelet, grommit thingy (only tech terms here peeps)
Xyron Sticker Maker - click link to read more


First I made the fabric & trim into a sticker, I'm telling you I love this Xyron Sticker Maker


Then stuck them on the tin.


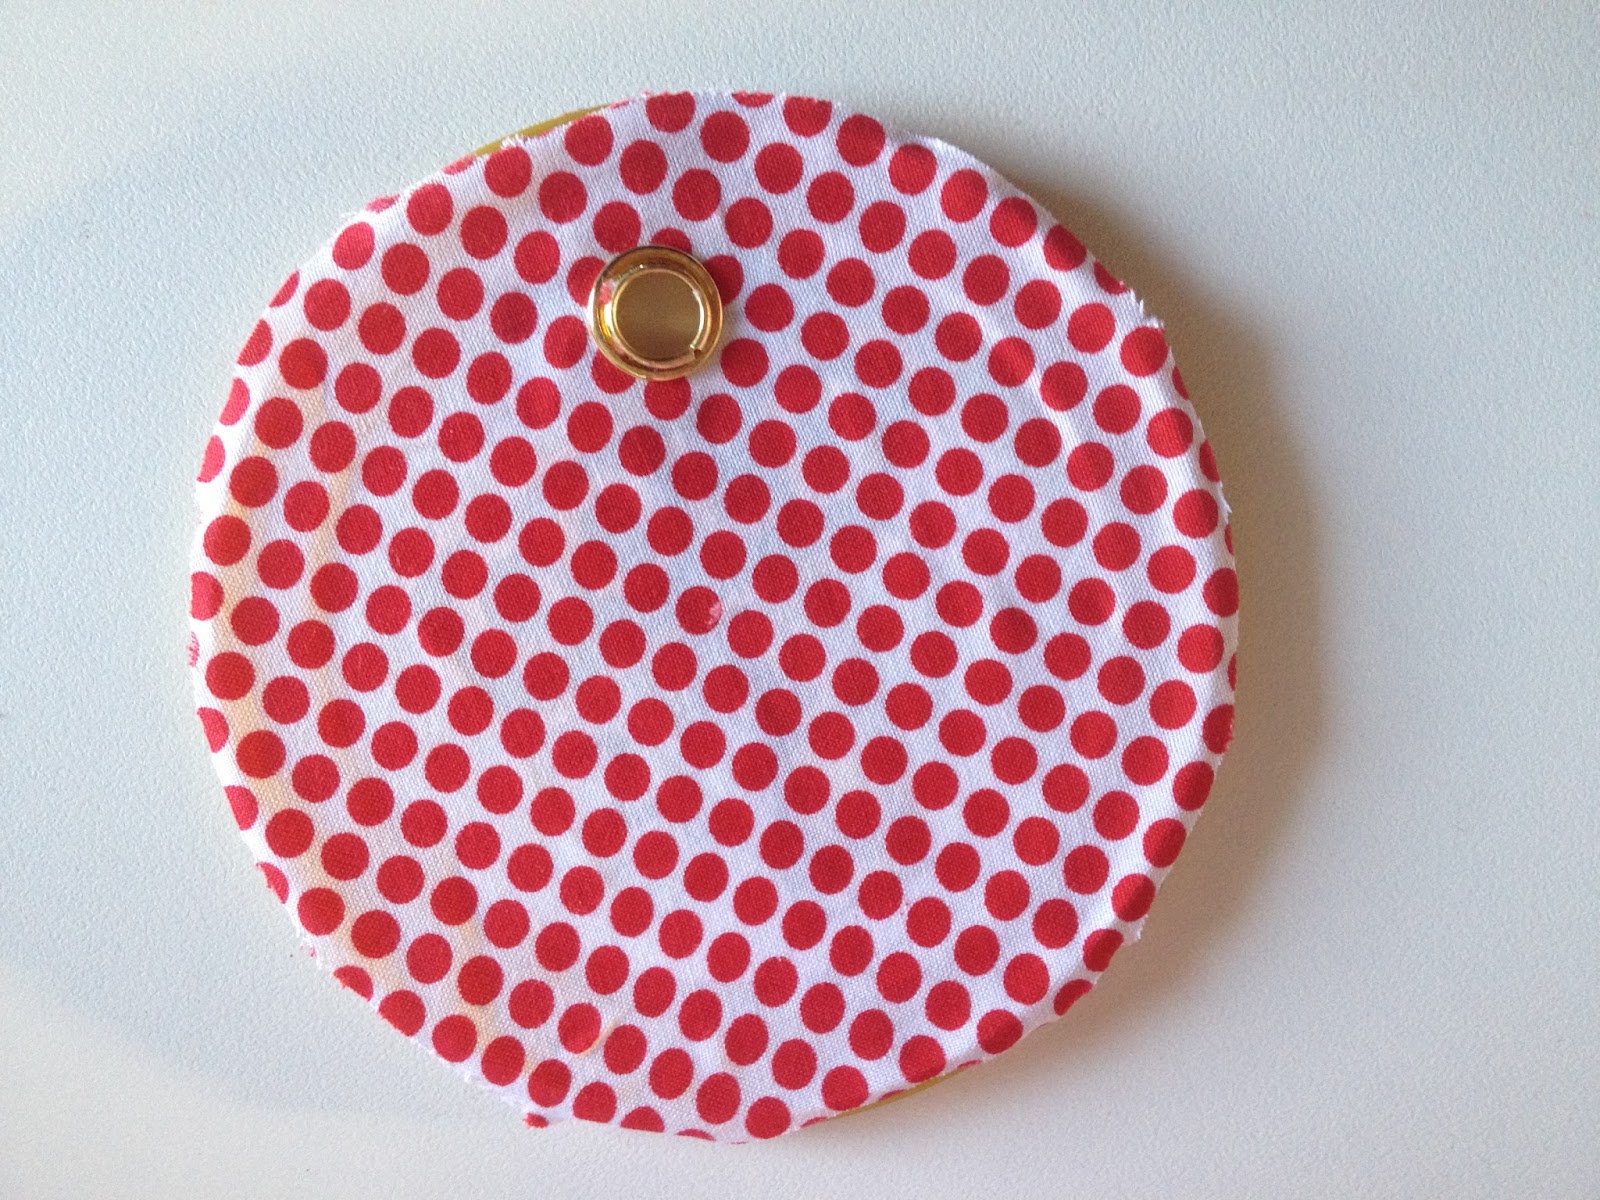
And the lid, then I put the eyelet grommet thing in

Of course I did it upside down....Dang!!

Popped the wool in


Start Knitting, without the ball of wool flying all over the floor!

DIY Delight or Disaster? Man it's awesome, I made it for free saving $20 and it has stopped Max from destroying my wool. Delight!! Also my lot are on school holidays for the next two weeks and we plan on enjoying the sunshine. So apologies in advance if I am a little late in responding to email, but I'm about to get my Spring on!!

Tomorrow I will show you what I have been knitting with that pink wool, stay tuned!

Thanks for reading,

Mel xo

Be Delighted Every Day, Follow Mellywood's Mansion!
project-name-for-SEO-purposes-here

Thursday, 11 July 2013

Mint Tin - Key Chain Upcycle


Howdy, welcome to day 4 of


I love today's trash chic craft most of all..hmm not as much as my Santa boot come to think of it, but close!

I have a mint habit I have them all the time and I kept thinking I wanted to make a key chain but I wasn't sure how I was going to do it. Then one night I'm in that cooking dinner daze where everything is tuned out (because no one's allowed in the kitchen when I cook) it came to me - A necklace pendant, doh so easy yet it hadn't occurred to me. So I made some "manly" one's for the boys and sparkly ones for Elizabeth and I.

Supplies:
  • Mint tins
  • Modpodge
  • Superglue
  • Necklace pendant bail
  • Split ring
  • Options to cover (Decorative tape, flat back beads, fabric, contact paper)


For the fabric one I used my sticker maker which you can see here and it totally worked my fabric became a sticker and was so much easier to work with than just modpodge...love that thing. Then I sealed it with the modpodge just to make it tough for the boys. I covered one in tape, another in contact paper and the third one I blinged up for Elizabeth I did glue the bail on hers before i did the bling.


Once they're covered superglue your bail on add a split ring and there you go

Girly Ones

Manly Ones


DIY Delight or Disaster? Easy and now I can keep my ear buds on me for whenever I'm out and about and the kids wear theirs on the way to school so they like the fact that they wont be hunting through their bags for them, Delight!

Thanks for reading,

Mel xo

Catch up with the rest of the Trash Chic Projects
Be Delighted Every Day, Follow Mellywood's Mansion!
project-name-for-SEO-purposes-here
Related Posts Plugin for WordPress, Blogger...