Adsense


Showing posts with label Glitter. Show all posts

Tuesday, 1 April 2014

Washer Pendants..Or Bob Meets A Lady!

I was making things for a craft stall and decided to take a few pictures...that was a mistake!
When I took the following pictures I had used a lint roller and I swear I couldn't see anything but the camera sees all. Apparently that 10 pounds it adds is made entirely out of fluff!.

If you want to know how to make glitter pendants you can see my tutorial here, lint free.


No amount of phot editing was going to help in fact it just got worse and worse!


However the most exciting new in the craft room is that Bob got himself a lady, Betty.


Don't they make a lovely couple, Bob all big and manly, while Betty is sweet in her fluffiness.

They're going to be together for a very long time, now I have to stop talking crap and get moving I have so much happening here at the moment and it has to be done before Easter. Just to make things fun the kids finish school for 2 weeks on Friday, which means I shall be on a blogging break, except for WYPW because honestly 2 weeks home with the kids, I will be the one needing a few laughs. I will be changing the wifi password until their pigstys rooms are clean and I plan on being very mean and bossy about it!

Thanks for reading,

Mel xo

Tuesday, 3 December 2013

Magnetic Paper Dolls

When I was a kid I remember being babysat by a friend of my parents and she was kind of old fashioned, in preparation of us coming she had got some paper dolls for me and my sister to play with. I LOVED them it was the only time I had ever seen them and the only time I ever played with them.

Fast forward 30 odd years and I saw these pretty Christmas paper dolls on Pinterest, you can check out my board here and I wanted to make some for Madeleine

Monday, 8 July 2013

Christmas Boot Centerpiece


Hey All,

This project is a guest post I did last year for the Inspiration Cafe before I joined and it ties in with a lot of the Christmas in July posts floating around at the moment.


Welcome to Trash Chic Week, where all week, garbage or old stuff will be transformed into the awesome!


Today I'm sharing my Christmas Boot Centerpiece, one of my Trash Chic items if you want to know what Trash Chic is you can read about it here

Supplies

A pair of kids outgrown Gumboots

  • Mod Podge
  • Painters tape
  • Black Paint
  • Red Glitter
  • Faux Fur
  • Hot Glue/Gun


Firstly and the most important step, if you plan on putting these on your table or using them to serve food, bleach and disinfect the shoes. There is nothing quite as classy as having your guests smell rotten kid feet at the table. Dry and give them a coat of Mod Podge.

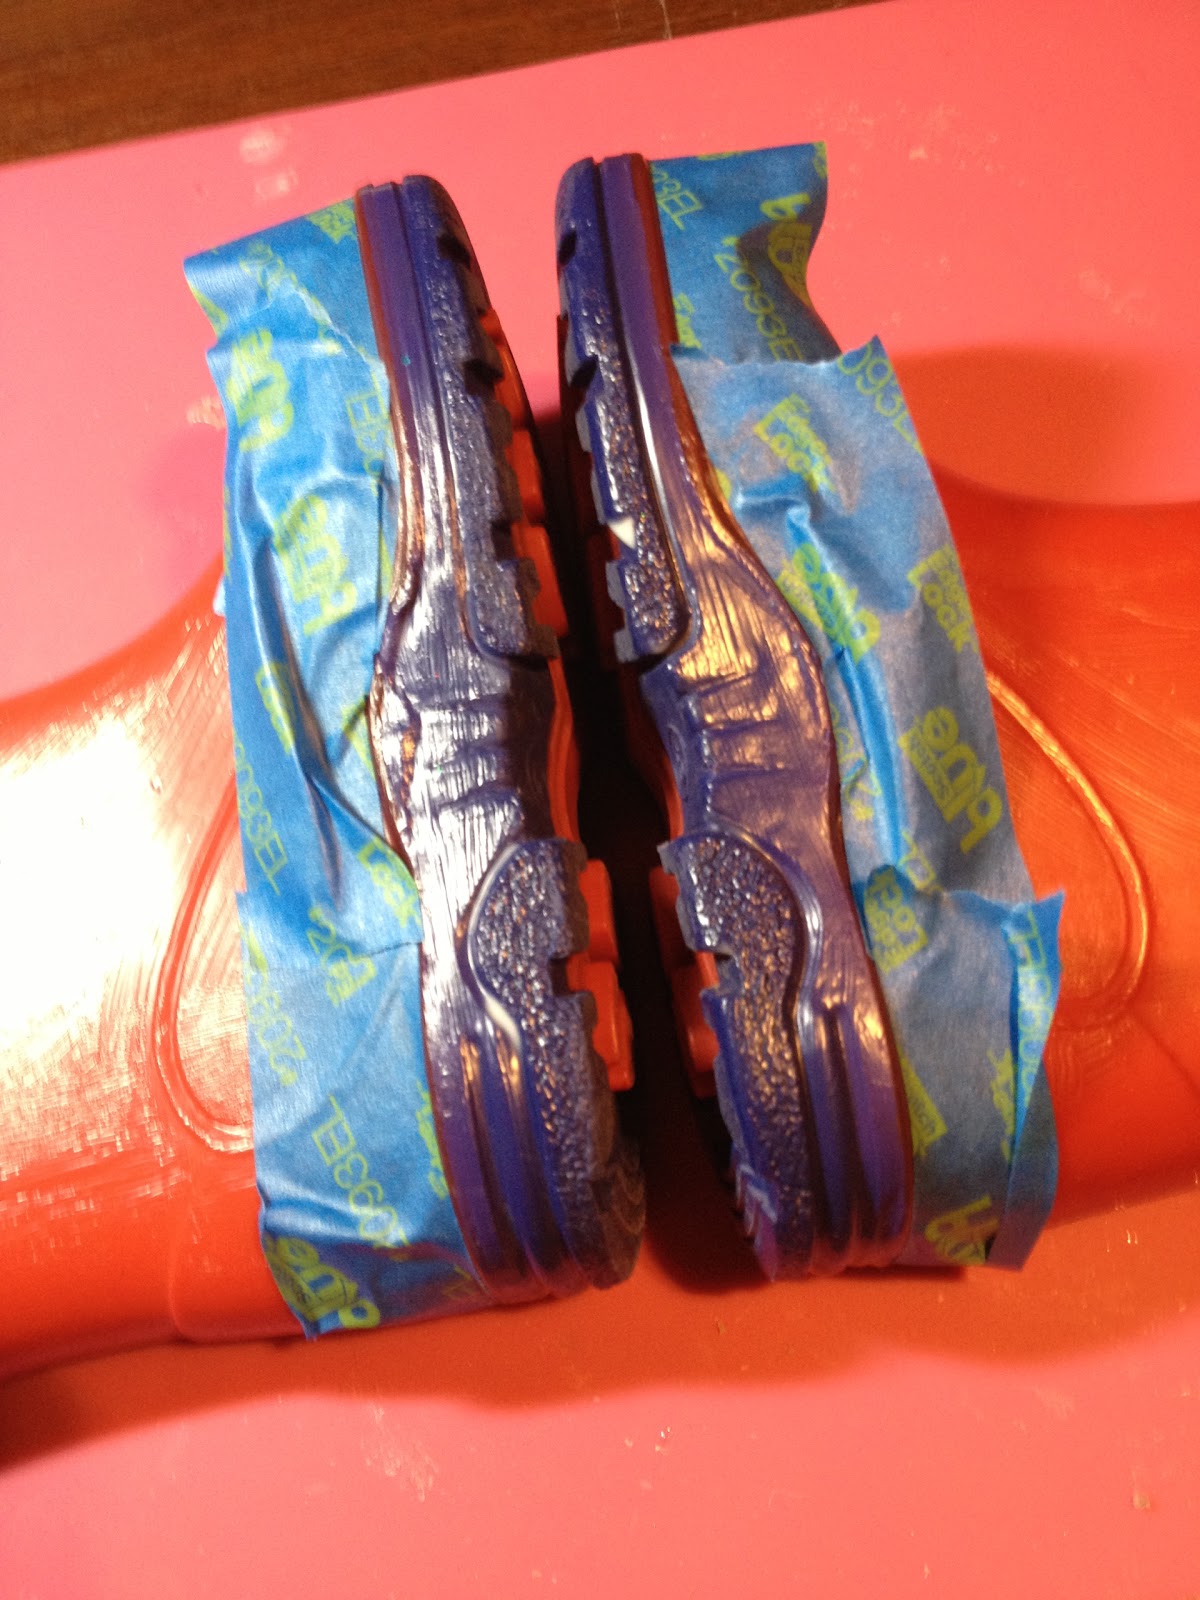
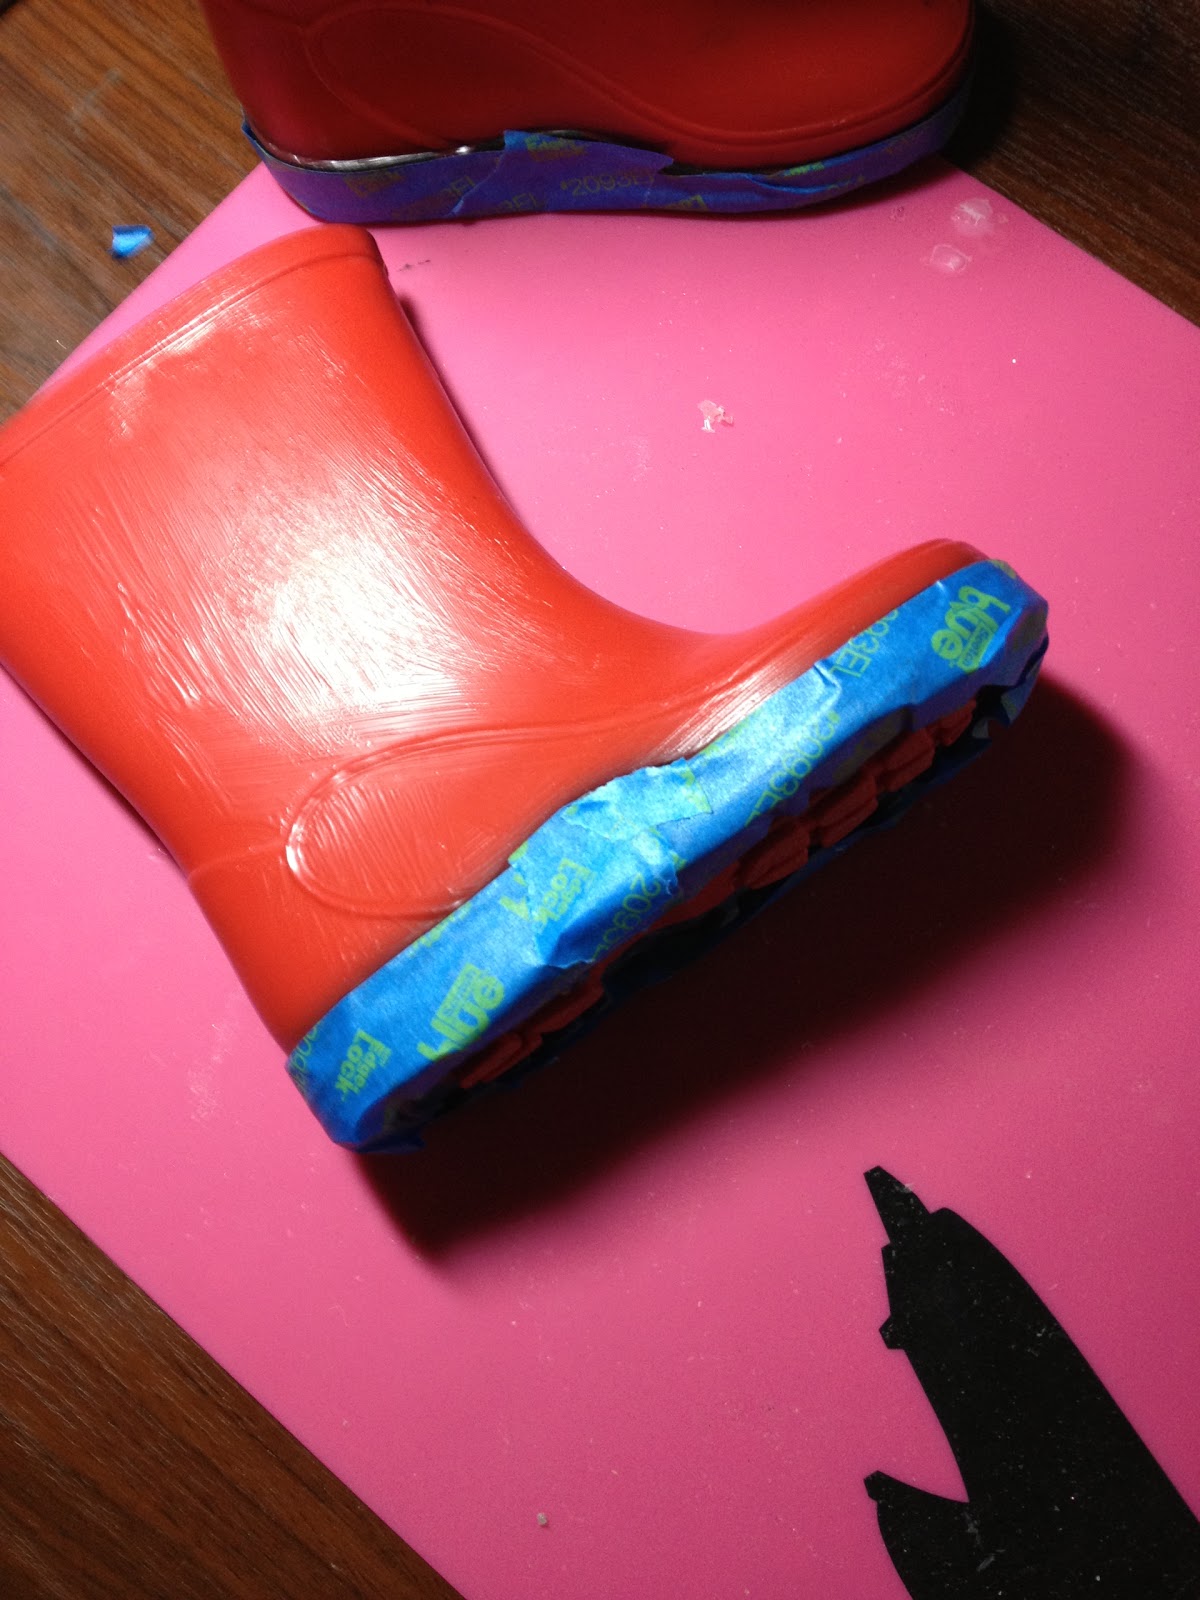
Once they're dry tape off the bottom of the boots and paint them black

Then tape off the black paint and coat with Mod podge and glitter the rest of the boot


Once that is dry cut your faux fur to size and hot glue around the top of the boot


Be warned if you think glitter gets everywhere, faux fur is an absolute nightmare! However it does look fantastic.

One the glue was dry I grabbed a small glass, and put it inside the boot and fill as desired. I think artificial flowers or flatware could also look amazing. However my 2 year old was fascinated with these, so I went for the more kid friendly, candy canes.


DIY Delight or Disaster? I LOVE this, even in July I love it I can not wait to get it out again at Christmas, from a smelly old pair of kids boots to a really fun decor items, Delight!

Thanks for reading,

Mel xo
See all the Trash Chic projects:
Be Delighted Every Day, Follow Mellywood's Mansion!
project-name-for-SEO-purposes-here

Friday, 31 May 2013

Glitter Washer Earrings


Morning guys,

Remember my glitter bracelet? Well using the same idea I made a set of matching earrings. Loving them!

I pretty much followed my Bracelet tutorial but only made one hole per washer and added the earring findings.

I love them like my bracelet so DIY delight for sure.

Thanks for reading,

Mel xo


Tuesday, 21 May 2013

Glitter Washer Bracelet

First appeared as a guest post at The Shaffer Sisters


G'day,

Well if you spend a bit of time over here at the mansion you know that I love me a bottle cap but recently I have been all about the washer.

When I found these little babies around $2 for 50 I had to bring them home, where they sat for a few weeks before I decided what to do with them. Want to make one?


Supplies
  • Small washers
  • Glitter
  • Glue
  • Hole punch
  • Jewelry Supplies


Coat the washers in glue then sprinkle glitter all over until it dries

Shake off the glitter


Join them together with jump rings and add a clasp, mine was slightly small so I added a little chain just to extend it. Now you might notice the little mask charm, Nat over at Northshore Days often adds charms to her pieces and I love it so I added one as well, I think it just gives it a little bit of personality. It makes me think of fancy masquerade balls.

DIY Delight or disaster? Delight I think it's sweet.

Edited : I have had a few people ask how I made the holes I made them using this tool.

http://www.amazon.com/Euro-Metal-Punch-Pliers-1-8mm/dp/B003JD9VX2/ref=sr_1_3?ie=UTF8&qid=1369123681&sr=8-3&keywords=Euro+tool+hole+punch


Be Delighted Every Day, Follow Mellywood's Mansion!
project-name-for-SEO-purposes-here


Mel xo


Tuesday, 4 December 2012

More Glitter Bling

Hi All,

A couple more Silly Season accessories.

First Up


The Bauble Bracelet

Supplies

Bead
Baubles
Bracelet
Head Pins - Thanks Nat for letting me know the proper name
Jump rings


So it starts in the same way I made the Bauble earrings except that i started with a bead and then added the bauble followed by another bead and made a loop at the end.


Then using a jump ring I attached them to the bracelet, and there we go, simple, silly bling for the holidays


Here is a shot of Elizabeth's. She loved making them and asked me to put hers on the blog.


Next up 


Supplies:

1 Bauble
E6000
A Ring Blank


Add glue and dry,

Try it on and wonder what a diamond this size would feel like


Ah sweet day dreams!


Thanks for reading,

Mel xo

Linking up at these awesome parties

Tuesday, 27 November 2012

The Toddler Advent - Sesame Street Style, Were You Expecting Anything Else?

Morning All,

Something for the toddler/ preschooler today. Big surprise, I went with Sesame Street.


Welcome back to The Awesome Advent Event,

Just when you thought I couldn't possibly have another Sesame Street post - here it is Madeleine's Elmo Advent.

Just letting you know that there were two of these made until I had a brain reboot and realized Max is not going to be eating lollipops. Actually these were a lot of fun to make and the pictures aren't doing them a lot of justice.

Supplies


  • Plywood
  • White glue
  • Glitter
  • Scrapbook stickers
  • Paint
  • Ribbon
  • Hot glue 
  • Drill
  • Vinyl (optional


Paint the board


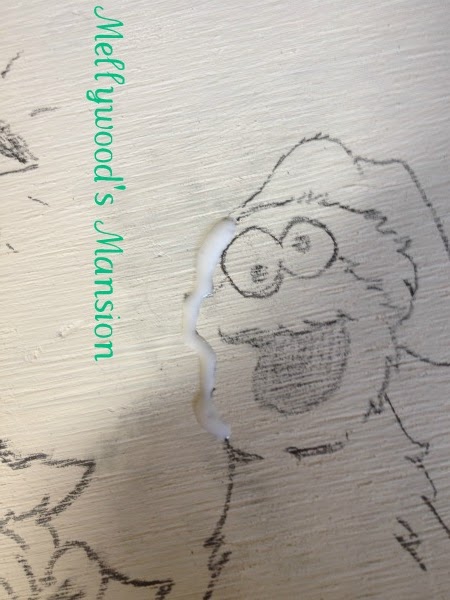
Draw or transfer your image on. I found mine over at the Sesame Street Website


I had a few difficulties, then I discovered an awesome new wood transfer method see below:


Thanks Samuel, he also added the trees and decorations that weren't on the picture. He also decided to take a bite out of the Cookie Monsters tree - I didn't really want it but since he was drawing, who am I to argue?

Using the glue fill each color individually


Then glitter, don't worry about waste as soon as it dries, bang it around and put the excess back in the jar.


Then mark out the holes for the lollipops and drill.


Rub out all the pencil markings - there were a few stubborn marks a magic eraser cleaned them right  off.

Glue Ribbon around the edges.


Stick the scrapbook stickers around the holes and cut out the kids names and stick them on and you're done


I guess Max will have his next year.

That wraps up day 3 of


If you missed them


Thanks for reading,

Mel

Linking here

 A Diamond in the Stuff
Vintage On A DimeLife on Lakeshore Drive Beyond The Picket Fence shabby creek cottageSixSistersStuff.com
Keeping It Simple UndertheTableandDreaming
Related Posts Plugin for WordPress, Blogger...