Adsense


Showing posts with label knitting. Show all posts

Monday, 28 July 2014

Tri Coloured Knitted Bed Socks

As you know those concrete floors we painted in the lounge room have been a freezing cold nightmare. So much so that it was time to knit some nice warm woolly socks. These are so toasty on the feet and you can use your scraps.


These socks are great for the beginner who is ready to learn a few shaping techniques. They will fit both Elizabeth and I her being a ladies size 9/10 and I'm an 11 Aus and US sizes are the same for shoes. However they would fit most average feet, there is a lot of give in the wool.


You'll need

3 different coloured balls of 8 ply
5mm (US Size 8) knitting needles
4.5mm (US size 7) knitting needles
darning needle to sew the seams
Row counter

Using the 5mm (size 8) needles and the pink wool cast on 40 stitches and work in k1,P1 rib until it measures 12.5 cm (5 inches).

Change to 4.5mm (size 7) and change to black wool and knit 10 rows stocking stitch starting with a knit row (right side) ending with a purl line
Change to white cont in stocking st knit 6 rows end with a purl row
change to black knit 10 rows stocking stitch
Change to pink continue in stocking stitch for a further 6 rows
change to black knit 10 rows stocking stitch
Change to pink continue in stocking stitch for a further 6 rows
change to black knit 10 rows stocking stitch
Change to white cont in stocking st knit 6 rows
change to black knit 10 rows stocking stitch

Shape heel
Row 1(RS) K13 Wrap Next Stitch and turn
Row 2 and all foll (WS) purl
Row 3 K12 Wrap Next Stitch and turn
Row 5 K11 Wrap Next Stitch and turn
Row 7 K10 Wrap Next Stitch and turn
Row 9 K9 Wrap Next Stitch and turn
Row 11 K8 Wrap Next Stitch and turn
Row 13 K7 Wrap Next Stitch and turn
Row 15 K6 Wrap Next Stitch and turn
Row 17 K5 Wrap Next Stitch and turn
Row 19 K6 Wrap Next Stitch and turn
Row 21 K7 Wrap Next Stitch and turn
Row 23 K8 Wrap Next Stitch and turn
Row 25 K9 Wrap Next Stitch and turn
Row 27 K10 Wrap Next Stitch and turn
Row 29 K11 Wrap Next Stitch and turn
Row 31 K12Wrap Next Stitch and turn
Row 33 K13 Wrap Next Stitch and turn
Row 35 Knit across ALL Stitches

Row 36 P13 Wrap Next Stitch and turn
Row 37 and all foll (RS) knit
Row 38 P12 Wrap Next Stitch and turn
Row 40 P11 Wrap Next Stitch and turn
Row 42 P10 Wrap Next Stitch and turn
Row 44 P9 Wrap Next Stitch and turn
Row 46 P8 Wrap Next Stitch and turn
Row 48 P7 Wrap Next Stitch and turn
Row 50 P6 Wrap Next Stitch and turn
Row 52 P5 Wrap Next Stitch and turn
Row 54 P6 Wrap Next Stitch and turn
Row 56 P7 Wrap Next Stitch and turn
Row 58 P8 Wrap Next Stitch and turn
Row 60 P9 Wrap Next Stitch and turn
Row 62 P10 Wrap Next Stitch and turn
Row 64 P11 Wrap Next Stitch and turn
Row 66 P12Wrap Next Stitch and turn
Row 68 P13 Wrap Next Stitch and turn
Row 70 Purl Across ALL Stitches

Beg with a knit row, working in stocking stitch and Black wool knit 10 rows ending with a purl
Change to white cont in stocking st knit 6 rows
Change to black knit 10 rows stocking stitch

Shape Toe
With the Pink wool
Row 1 (RS) K7, K2tog,K2, K2tog tbl, K14, K2tog, K2, K2tog tbl, K7
Row 2  and all following WS purl
Row 3 K6, K2tog,K2, K2tog tbl, K12, K2tog, K2, K2tog tbl, K6
Row 5 K5, K2tog,K2, K2tog tbl, K10, K2tog, K2, K2tog tbl, K5
Row 7 K4, K2tog,K2, K2tog tbl, K8, K2tog, K2, K2tog tbl, K4
Row 9 K3, K2tog,K2, K2tog tbl, K6, K2tog, K2, K2tog tbl, K3
Row 11 K2, K2tog,K2, K2tog tbl, K4, K2tog, K2, K2tog tbl, K2
Row 12 Purl
Cast Off

Obviously it's socks peeps so you need to do that all over again, unless you only have one foot.

To finish
Weave in your loose ends
You can steam it flat, I'm kind of lazy when t comes to socks and just sew the seam. Start at the toe and sew the leg seam using mattress stitch. Then finish it off by sewing the toe with an overcast stitch.

Then start modelling your latest socks like Elizabeth did.


Some out takes, she's such a dag! She's wearing her religious pj's not the holes, we call them her holy pants. I keep tossing them into the rag bag but she keeps rescuing them, apparently they're "the best".


DIY Delight or Disaster? You'll feel like Jo and the girls from Little Women when you start making socks. Even though you will love it, you can't help but throw your knitting needles down in a huff just to be like Jo, total delight! Also for me, this is the first sock pattern I have designed myself so if you knit them, please send me a pic or give me some feedback.

Mel xo

Monday, 16 December 2013

Mini Knitted Christmas Stockings

When I was a kid, I went to my grandparents house every Sunday, after church we would go to my Grandparents house for dinner. All my cousins and Aunts and Uncles would be there and it was great fun. My favourite thing, other than Nana's desserts, was to go through her collection of magazines. These magazines were older than me and I used to gather up the Christmas ones and just drink in the beautiful crafts and decorations.

Tuesday, 29 October 2013

Six Scarves To Make As The Weather Cools Down


I like scarves! Since I started blogging its become blindingly clear that I really like scarves and I've made a few over the last year and a bit, now that the weather is cooling down on the other side of the world I thought I'd put together a collection of scarves you can make to keep that weird frozen white stuff from chilling your neck. Click the photo's to be taken to the tutorial.

Tuesday, 24 September 2013

Triangle Poncho

I know you a lot of you are getting some cooler weather in your part of the world, but even here, as the days warm up, the evenings can get a little chilly, so I made this sweet little poncho for Madeleine.


I'm currently on a huge yarn scrap busting mission. I had one and half balls of the pink yarn and one of the white. To make this I used about a ball of pink and a quarter of the white.

You can make this with any scraps you have lying about, with the easiest pattern, as follows

For the front
Grab your desired size needles and cast on one stitch.
Then at the beginning of every row yarn over to make another stitch and knit to the end
Cast off when you have your desired length.
Repeat for the back

Decide how big you want the head hole and stitch the rest together to form the poncho

Do take note of how many stitches if you plan on changing colours throughout the pattern to ensure the back matches the front.

I made a sweet little felt embellishment using my Big Shot.


DIY Delight of disaster? Delight, I think it's rather sweet and I am slowly getting rid of my HUGE yarn stash.

Thanks for reading,

Mel xo

Be Delighted Every Day, Follow Mellywood's Mansion!
project-name-for-SEO-purposes-here

Monday, 23 September 2013

A Yarn Keeper

What every knitter or crocheter needs!


I think it's probably obvious by now that I love to knit, however knitting with toddlers is pure hell. Max loves the yarn and throws it about like a cat. It tangles up at best, at worst he gets the yarn all sticky, so I was going to buy one of these yarn holder keeper things, I saw them priced at $20 and I thought, no I think I can probably make something.

Supplies:
Large Empty Tin (I used a formula can)
Fabric
Trim
Eyelet, grommit thingy (only tech terms here peeps)
Xyron Sticker Maker - click link to read more


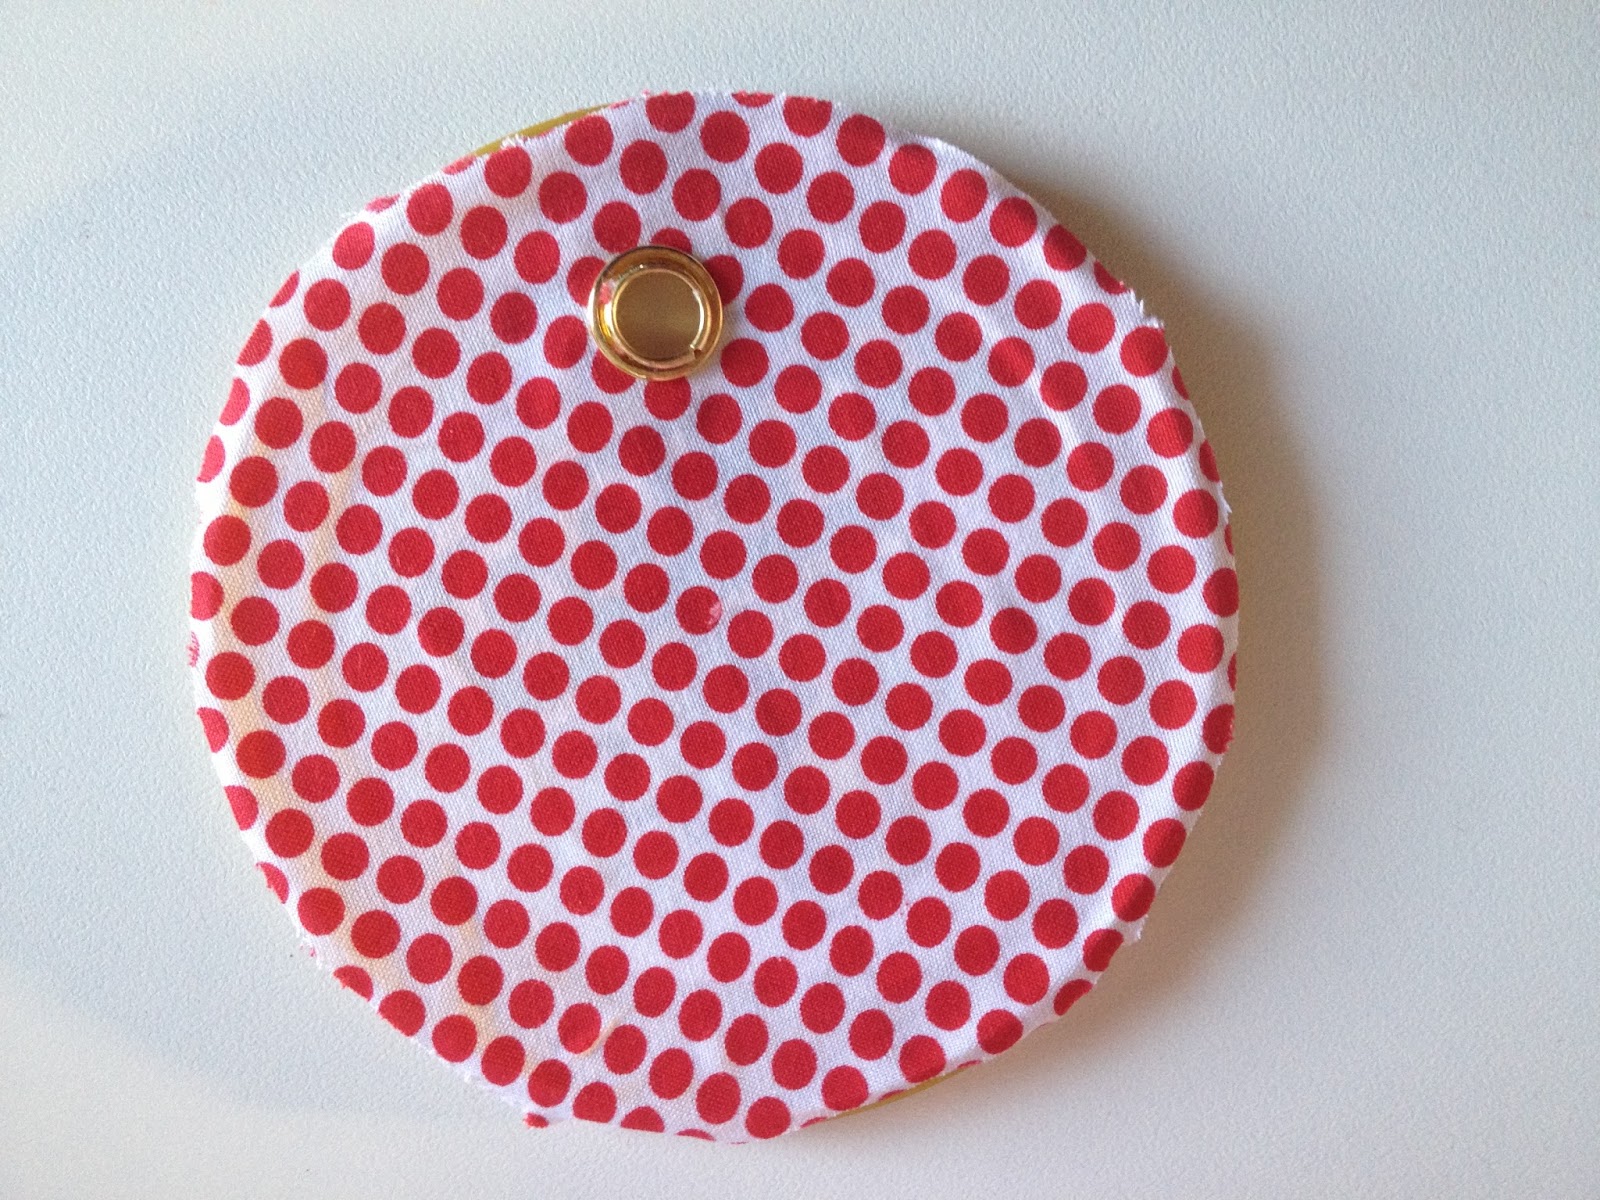
First I made the fabric & trim into a sticker, I'm telling you I love this Xyron Sticker Maker


Then stuck them on the tin.


And the lid, then I put the eyelet grommet thing in

Of course I did it upside down....Dang!!

Popped the wool in


Start Knitting, without the ball of wool flying all over the floor!

DIY Delight or Disaster? Man it's awesome, I made it for free saving $20 and it has stopped Max from destroying my wool. Delight!! Also my lot are on school holidays for the next two weeks and we plan on enjoying the sunshine. So apologies in advance if I am a little late in responding to email, but I'm about to get my Spring on!!

Tomorrow I will show you what I have been knitting with that pink wool, stay tuned!

Thanks for reading,

Mel xo

Be Delighted Every Day, Follow Mellywood's Mansion!
project-name-for-SEO-purposes-here

Monday, 12 August 2013

Fleece Ruffle Scarf

Morning All,

Couple of weeks ago I was wondering through the yarn section at my local craft store and came across this fleecer mesh yarn, fell in love immediately and thought I must knit this!


It knits up in the exact same way my Ruffle Scarf was made, and I fell totally in love with it, gorgeous for winter now I can walk around pretending to be stylish and stuff!


Thanks for reading,

Mel xo

Be Delighted Every Day, Follow Mellywood's Mansion!
project-name-for-SEO-purposes-here

Monday, 15 July 2013

A Quick Knit Cowl

Well can I just say, I loved Trash Chic Week, I think it is something I will be sure to do again. Nothing like pulling things from the trash and trying to come up with another purpose for it. On the other hand it's also nice to work with some pretty yarn and make something nice and quick.

A wonderful blog friend of mine decided she really wanted a pretty cowl and who am I to say no?


So using a ball of yarn and my humongous size 20 needles I knit as follows

Cast on 15 Stitches
Knit first row
Pearl second row
Continue pattern until desired length
Cast off on a knit row

Sew in the ends and there you go one lovely cowl.


DIY Delight or Disaster? If I didn't have 90 million scarves, I'd make one for myself, I hope she is delighted!


Thanks for reading,

Mel xo

Be Delighted Every Day, Follow Mellywood's Mansion!
project-name-for-SEO-purposes-here

Friday, 26 April 2013

Knitting Organizer


Morning All,

After I made the quilt and go, I knew that I needed to do something similar for my knitting, I'm a fickle person and bored easily so I like to have a few things on the go at once. I used the another of the embroidery hoops I received from Wholeport


Supplies

  • Fabric
  • Bias Binding
  • Sewing supplies
  • Quilt batting


Grab your fabric and cut into strips, the width will depend on the hoop size you use, and how long you want it


Sew the strips together and attach the quilt batting and inner fabric


Fill with your latest knitting project


Hang her up


Just like my Quilt and go, I can grab it at nap time or bed time and clickity clack the night away.

DIY Delight or disaster? Well I'm delighted! I love Wholeport's embroidery hoops, Elizabeth has been on Pinterest and wants some in her room for decoration, I plan on buying a few sets. The best part is, Wholeport's prices are based on how many you buy, the more you buy the cheaper they become.

Thanks for reading,

Mel xo


I would be delighted if you would follow me at any or all of these awesome places, just click on the picture below.


Mellywood's Mansion
Mellyood's Mansion
Mellywood's Mansion
Related Posts Plugin for WordPress, Blogger...