Adsense


Showing posts with label paint. Show all posts

Monday, 15 September 2014

Memo Board

Hey Guys,

So I have banned myself from buying anything more from the thrift stores and op shops until I use all the items I have. You might remember this one from a gazillion posts ago but it is one huge frame.

Monday, 1 September 2014

Roll Top Desk Maakeover

Hey Guys,

Remember this desk, the catch all of my crap in the entryway before it had it's makeover? Elizabeth has always wanted it and so I thought the time has come. She goes off to high school in January and she will need somewhere to work in private away from the little two.


Using the Canterbury Blue Chalk Paint, I painted it white and I bought these beautiful pumpkin pulls off ebay for less than $2 each. I found them in store for $12.50 so I was pretty pleased with the price.


Only problem was the 4 week wait for them to be shipped, however I just think they're so pretty.


See Pretty!!


DIY Delight or Disaster? Oh delight for sure, I have always loved the desk but I think she is just stunning in white. I love the Canterbury Blue paints, I did receive a pot of the white paint for free, but have since bought a few more, I just love them. So the first touches of green in her room and they're so pretty.

Thanks for reading,

Mel xo

Thursday, 28 August 2014

Wardrobe Doors Makeover

Hey Guys,

Work is under way in Elizabeth's room. The walls are now white. Elizabeth really wanted to have a green room, but since I discovered how much brighter the house is with white walls I nixed that idea.


Every time I have done the kids area I have always gone a little bit crazy. For Elizabeth what I really wanted was a room that would make her happy now but could also be used throughout the teen years. So I painted over the old doors that were installed in the 70's


They received a much needed facelift with Canterbury Blue Cottage Green Chalk Paint 


DIY Delight or Disaster? Simple, easy and I appeased my green loving girl with painting the doors, Delight!

Since we are sort of gong with a cottage, simple pretty room, I decided not to replace the worn brass pulls, I was going to but then I decided after painting that I did actually like them.

Thanks for reading,

 Mel xo

Monday, 25 August 2014

Dining table & Chair, (I might need to change the name of this blog to the Barbie Dream house)

Hey Guys,

Sometimes I forget I am a responsible 38 year old mother and I like to rebel against maturity. I also, for reasons unknown to me, have 4 dining tables that I like to switch out every year or so but this one was left outside and had become quite weathered and not in a good way. If you visited my guest post at The Thrifty Rebel last week, you'll know that I did something to freak Jules out.


I wanted to go back to a drop leaf table to try and make a little more room during the day when the little ones have all their toys out to play and this can be pushed up against a wall.


These chairs are from another set and had really become quite yucky out in the garage.


So when I heard of a new Aussie chalk paint company Canterbury Blue from another Megan of One Plus One Equals Six of mine, I had to try it out. Juliana the owner of the company is an absolute delight, love the paint but I love her even more, how could I not buy from a woman who refers to herself as my paint pimp??  I've actually done quite a few things there will be more colours coming up in Elizabeth's bedroom. I LOVE her paint, it's much cheaper than the other brands out there and the wax just smells amazing, it actually smells like the bush after rain.

I decided to try painting the fabric, I truly do like the result, however I have heard around blogland that it feels like leather, I'd say more like oilcloth, but the best part about the painted and waxed fabric, it wipes clean. No jokes, Madeleine dropped her BLUEBERRIES on it right after I did them, could not believe my eyes when it wiped off.


So I decided I needed a pink table, I also decided to do this while Julian was away while he was on his recent business trip. When I told him he starts freaking out and declared "Great we're living in a doll house now" among other less blog appropriate things, to which I replied, "every girl wished she could live in the Barbie dream house" However when Madeleine told him we had a "princess table" he couldn't say no to her.


I happened to be out when he got home and saw it for the first time (it also might have been on purpose) and this is the message that came beeping through.


Which only goes to prove that it is better to ask forgiveness, than ask permission and they might actually like it. Now of course I am going to have to paint all the walls and do that room next but worth it for my pink table.


If you're in Australia and want to see the most beautiful and affordable range of chalk paints, from a 100% Australian owned and also made here (I have received some paint for free those posts coming up, but I paid for my beautiful pink for this is not sponsored) check out Canterbury Blue on FB.

Also if you want to check out more pink fun, head over to The Thrifty Rebel for more pink lady posts.

Thanks for reading,

Mel xo


Thursday, 24 July 2014

My Boob Job - I Love it!

Sometimes I think we really need to give our boobs a little makeover....


Obviously a) I personally didn't have a boob job and b) if I did I certainly wouldn't be blogging it.

But remember my boob key holder I had in the entry, I decided I wanted her to have a makeover in black.


So easy I just coloured it in with a black sharpie, and now my boobs are proudly on display in my new craft area.

DIY Delight or disaster? Delight I just love it and I might still be a little high from Sharpie fumes. Plus the look on my kids faces when I told them to check out my boob makeover...priceless. Horror, like I have never before seen on their faces and relief when they realised I was talking about my key holder, seriously as if I meant anything else, I am beyond prude LOL

Thanks for reading,

Mel xo

Tuesday, 22 July 2014

Fold Out Craft Desk

If there was one thing I knew I wanted in my new craft room, it was a high workbench where I could comfortable work standing up. However, I also knew it wasn't something I would be using every day and I really didn't want to sacrifice a huge amount of space.

So I decided to try my hand at building a fold out desk.

I already had the wood for the desk top out in the garage which was 120cm x 90cm so I bought some wood for the legs and the fold out bit and cut them to size.


First I made the swing out leg, it needs to be as wide as the table top.


I added two legs to the board that is mounted to the wall for extra stability


Then with hinges I attached the the swing out leg to the leg that sits against the wall.


Then with another two hinges I attached the table top to the board that attaches to the wall.


Using L brackets I attached the board and the legs to the wall.

Swing out the leg and lift the top when you need a desk


And swing it back in against the wall when you want your floor space back


This took all of about 4 hours to make, and that's from me, all by myself, who really doesn't know anything much about woodworking. It's sturdy and stable.

DIY Delight or Disaster? DELIGHT!!!! This is now the best thing I have ever done. I love that the kids can come in here and play on the floor if I am knitting or working on the computer, but when they're not around and I want to craft, up it goes it a couple of seconds. DELIGHT, DELIGHT, DELIGHT! Also it cost me less than $30 to make, how awesome is that!!!! Also did you notice the carpet, god bless my neighbour, the carpet layer, he gave me some carpet he had taken up at a job he was doing, slightly too small to lay in this room but pretty much covers the floor, looks nice and is soft and warm for the kids to play on.


Thanks for reading,

Mel xo Linking here
Beyond The Picket Fence

Thursday, 17 July 2014

Stencilled Clipboards

Once again in an attempted to be the organised person I want to be, I thought I would make something to keep all my craft manuals together. Enter the stencilled clipboards

Tuesday, 15 July 2014

Magazine files

Welcome to the most boring makeover yet, but it is a hint at the colour scheme of my NEW craft room.
Yep I have a brand new room and it's getting all sorts of love.


Well there are worse things you could be doing with your time like

  1. Playing Golf
  2. Folding Laundry
  3. Cleaning out the Shower Drain
  4. Making House Hold budgets
  5. Rereading the Twilight series (Sorry but that was boring)


I got some of those wooden magazine files from Ikea.


Then I painted them in shades of pink.


So in case you didn't guess, the new craft room will be all pretty and pink. Seriously I told you this was a rather boring makeover, but they're still it was an intro to my new room!


Thanks for reading,

Mel xo

Monday, 24 March 2014

Spice Rack Bead Organiser

G'day.

I rarely get to do a bit of thrifting, but lately I have been stalking every single one looking for spice racks. I've seen countless pictures on pinterest where spice racks have been used for craft supplies and since I use spice jars for my seed beads it got me thinking.


Then I stumbled across this little beauty for $2, so excited and I am pretty sure my parents had one of these back in the 80's.

Anyway as much as I love Masterfood's I was after a different look. So I broke out the chalk paint and painted her up.


After I painted I kept thinking it needed a graphic or something, but once I put the beads in I think they give her a little sparkle and I'm glad I didn't add any extra.


DIY Delight or Disaster? Well I think it's a delight and I like having the beads sparkling I'm all about seed beads, cheap but pretty.

Thanks for reading,

Mel xo

Tuesday, 18 February 2014

DIY Planter Box or The Time I Used The V Word!

My DIY Planter Box means I am going to use a word that I thought I would never use in my life or on this blog, the V word....Vignette!


I'm putting some finishing touches in the entry and I want to create a warm and welcoming space and I realised that meant Vignette, then I immediately felt like the worlds biggest tool because it just sounds so formal, so posh and so very unlike me or the mansion. Oh well, turns out that maybe I can pretend to be a little more décor sophisticated than I really am. Actually I think it turned out quite pretty but it cost me $0, so I shouldn't expect any invitations to high society any time soon!

Supplies:

  • Scrap Wood
  • Scrap trim
  • Nails/Hammer
  • Paint/Paintbrush


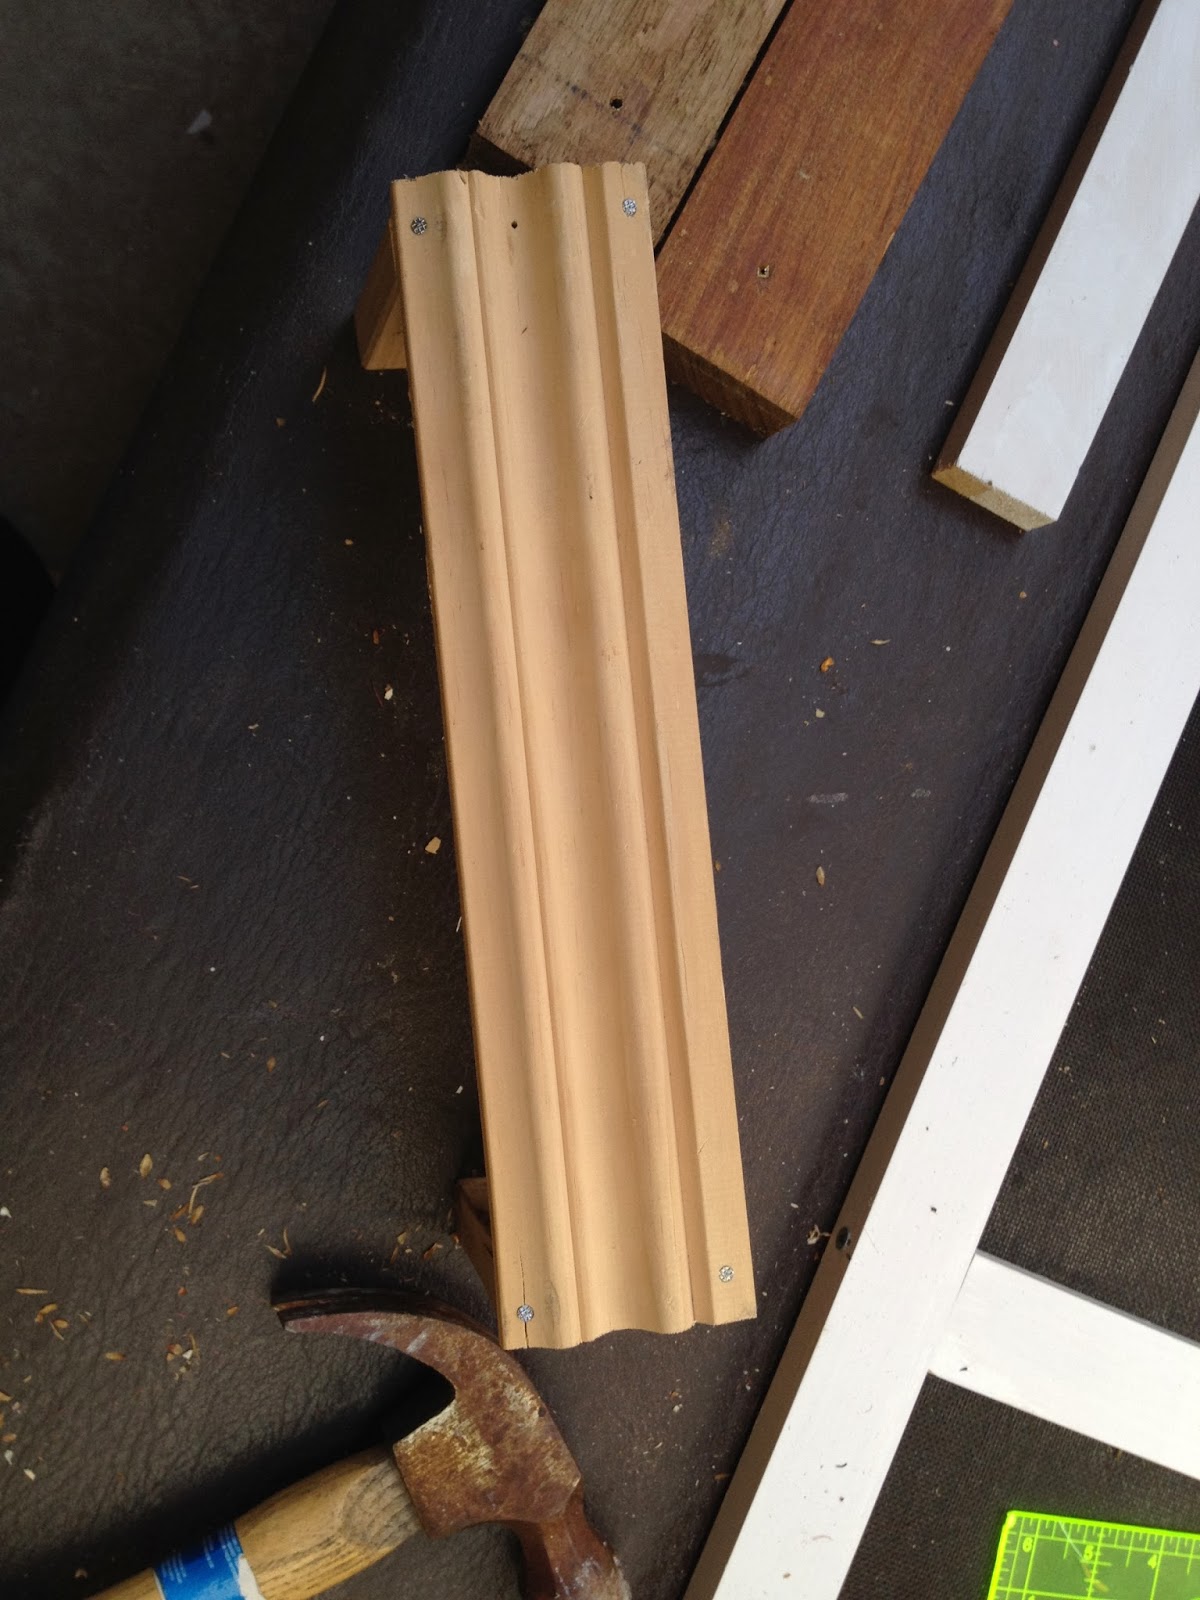
I grabbed some scrap trim and wood from the garage.


Nailed it together

About this point I realised I probably should have measured it, but the DIY angels were with me because it actually fit my "vases" (plastic milk bottles), another reason the elite won't be contacting me any time soon.

Then I just gave it one coat with a dry brush and I really liked the kind of white wash feel that I didn't bother with a second coat. This baby took me less than 20 minutes to make.


DIY Delight or Disaster? Apart from feeling like the worlds biggest sell-out for using the word vignette, truthfully I was really happy with the way it came out and it was so easy, first project of the year and I am going to go with Delight! By the way middle of Feb and this is the only thing I have done all year, what a sucky blogger I am at the moment!

So was something that pre blogging/ blog reading did you think you would never do but have?


Thanks for reading,

Mel xo

Monday, 2 December 2013

Wooden Christmas Signs

I LOVE Christmas! I love making stuff for Christmas, I love shopping for it, I love all the activities leading up to Christmas. I love the smell of Summer in the air.

The other day when I posted the before shots of my entry a few of you asked what was hiding behind those frames, well here this is it.


Tuesday, 19 November 2013

DIY Plaster Ornaments

If you have every crafted with kids this post is going to make you think that I have gone crazy. Kids crafts should be sturdy and strong because they're rough but instead I went for very breakable plaster ornaments.


Friday, 8 November 2013

Thread Holder


Well every sewer needs a place to store their threads, and what kind of blogger would I be if I didn't include some sort of monogram? So here it is!


Thursday, 7 November 2013

DIY Iphone Costume

Okay, so picture this, 18 hours before it's needed I suddenly am alerted to the fact that Max needs a costume for daycare.

I have never really done a costume before but I didn't want him to miss out, so I turned to Pinterest and found a few costumes for ipods made out of boxes.

Thinking I was so original I decided to do an iphone one, ummm go google that and see exactly how "original" I was.


Tuesday, 8 October 2013

Wine Rack to Vinyl Storage

 Hey Guys,

I think Spring has given me back my desire to get back into doing the house, maybe it's the warmer weather but I have been working my butt off. This trash chic project has me happier than a pig in mud!


If you've been hanging about the mansion for sometime now, you may remember that I got this wine rack, oh only about 11 months ago, and for 11 months Julian has wondered why it has taken up space in the garage. He thought I was going to use it for actual wine, but I cleared that up by saying as if I would be able to keep wine on a rack just to look at!


Maureen at It's All Connected had emailed me her recipe for homemade chalk paint ages ago and I have been between, desperate to try it and scared out of my wits that I would ruin my furniture so I though this was the perfect item to start with. When the first coat dried, I considered deleting my blog and sending hate mail to anyone posting chalk paint makeovers...it looked dreadful!


But I put my fears out there at the Mellywood's Mansion Facebook Community, I've been dying to use that term and make don't I sound special! Anyway my mates on my Facebook page (and you can follow me here) assured me that it was normal and just to keep going, and I'm so glad I did!


Three coats and some waxing later, I am in LOVE!!!

DIY Delight or Disaster? Okay so totally honest, I really thought I was going to hate it but when it was finished and I put my vinyl in it, I looked around my almost completed room and literally got all choked up (No Mum relax, I'm not pregnant, sometimes I have some real emotions!) Delight!

What's made you cry tears of joy?

Mel xo


Monday, 30 September 2013

Turn Your Door into a Peg Board

 Morning All,

How much do we as a craft/DIY /blogging community love peg board!

When I asked for ideas on what to do with the wall behind my craft table Anne from Domeblissity, suggested I do a peg board similar to Ros's from Sew Delicious which you can see here. Her's is wonderful and both Anne and I have been lucky enough to see it in person and I suggested that her FIL make me one.


Sadly for me he is busy! 

 At the beginning of this makeover I wanted to do something with the plain and ugly sliding doors so I started doing a paper "quilt, got to this point and decided I wasn't a fan, but since I had mod podged it on, I was to lazy hadn't got around to removing it.


The door slides right next to my table and I was thinking how great a peg board would be, when I wondered if I could do one on the door, turns out I could.


I bought a some peg board, which was way to wide for the door, and some really cheap pre primed trim so I cut the board to fit and painted the peg board white and the trim red.


 Then I got some hooks and began sorting my crap!

DIY Delight or Disaster? Seriously LOVE this, so handy, if I was going to change anything I think I would have mitered the corners, rather than have them straight, otherwise, Delight!

Thanks Anne and Ros for the idea!

Thanks for reading,

Mel xo

Be Delighted Every Day, Follow Mellywood's Mansion!
project-name-for-SEO-purposes-here


Related Posts Plugin for WordPress, Blogger...